Monday, December 18, 2006

A One-Coat Wonder?

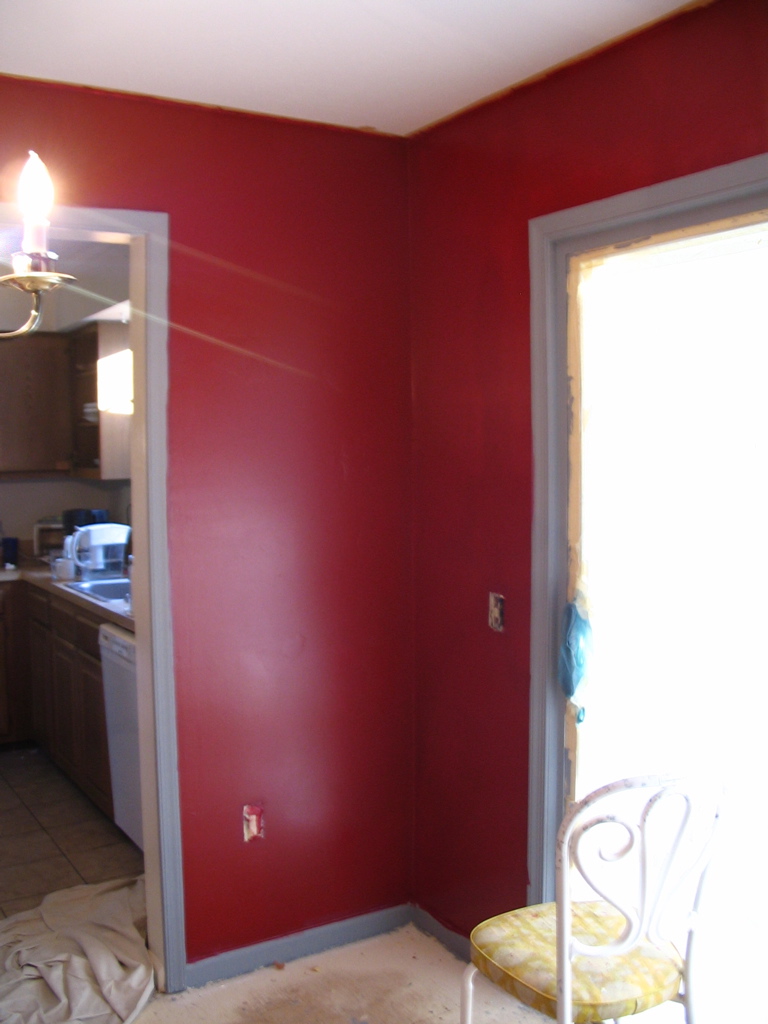
This weekend our friend Steve came down from Providence and helped us paint the living room - we painted the top of the living room above the chair rail in "Lilting Laughter" (a name which, thanks to my speech impediment*, is virtually impossible to say).

I realize that that doesn't look much different from before...between the camera and the night photo, the subtle change in wall color doesn't come out - the final paint is a warmer white than the primer.

I thought we'd need a second coat, especially since we couldn't tell what we were doing in the poor winter afternoon light, but so far it looks like it went on pretty well!

Monday, December 04, 2006

I wrecked it...well a little...

I was trying to be clever and not leave the masking tape up for 5 years on end, but in pulling off some ceiling tape only a few hours after the second red coat, I took a little paint with me - it came off in a sheet right down to the primer. After waiting a few more hours the rest seems to be adhering better.

See - all that procrastinating with tape was a good idea!

Saturday, December 02, 2006

Red Dining Room - pictures!

Finally! Here are some pictures of the house. We just put the second paint of coat on the dning room and I bought some batteries for the camera, so...


Here's what the dining room looked like after I removed the wallpaper. In that third picture the spackle isn't sanded down yet.

Here's the gray primer (it has sort of a blue tone). It really worked - the red looks just like the paint chip.

Finally here's the room after two coats of red. The trim is still just primer, and we haven't put any sponge colors down yet.

Saturday, November 18, 2006

A Dining Room That Doesn't Show Blood

We just put the first coat of red paint down in the dining room...this is very exciting because it's the first time we're doing something that will actually look good, as opposed to just prep work.

We put a dark grey primer down and the tinting worked; the red looks red like the paint swatch on the first coat. However I do think we'll need two coats of red, just like we needed two coats of primer; the walls have enough texture (read: are so pock-marked from my attempt to remove the old wallpaper) that the paint doesn't quite cover completely on the first try.

Regarding odor: we've got almost the entire house (except for the below-ground family-room area rug-free and it's made an enormous difference...the house is basically smoke free). This is good because with the cold weather we can't do any priming for lack of ventilation. So we can probably use the winter to finish painting, put down flooring, and then buy, like, grown-up furniture. In the spring we can contemplate which room/project is next.

Saturday, October 07, 2006

Wagner Power Roller

When Ami came down to DC to help us start priming, we bought a Wagner power-fed roller. This is a paint roller that's fed via a tube from a paint pump fed from the can. The idea is that you never have to go dip your roller in paint, so you can work faster.

We used the roller on the ceiling, cleaned it according to the manufacturers instructions, and then put it away. When it came time to prime again, I discovered that it wouldn't draw primer. After half an hour of trying to clean it (and successfully feeding water through it via the garden-hose quick-clean attachment) I gave up and did the next ceiling with a conventional roller.

Having tried both methods I came to the conclusion that the Wagner power-fed roller is not as good as a cheap foam roller on an extension poll:
  • The wagner roller is heavy. Any benefit in not having to dip paint is more than lost by having to lift all that weight above your head when doing ceilings. (I think I spend more time rolling and smoothing paint on ceilings than going for refills from the tray.)
  • You can't use an extender poll on the wagner because paint is fed through the poll, so you spend a lot of time repositioning your ladder and can't work on as large of an area. You can't take as long strokes and it requires a lot more shoulder muscle. Ami and I were both very tired after doing 200 square feet of ceiling with the roller; Lori and I did that after doing the dining room today with a conventional roller and don't feel any soreness.
I was going to compare it to a conventional roller on walls, but after not being able to draw primer we took it back to home depot, who took it back for a full refund and marked it defective. I don't know if the problem is that Kilz is too thick for the motor or our unit had a problem or what, but in hindsight I'm happy to return it and use conventional rollers so all's well that ends well.

So perhaps for walls and latex paint the Wagner power roller is a useful tool, but for Kilz on a ceiling I recommend cheap foam rollers.

(For that matter, Kilz is thick nasty stuff and tough to clean, so I think there's something to be said for using the cheapest disposable equipment you can find; there's only so many times you'll be able to clean your brushes before they're toast.)

Friday, September 15, 2006

I Love the Smell of Primer In the Morning

We're using Kilz original primer on our walls and ceiling, because of its reported ability to trap odors and stains. One thing I learned from calling the manufacturer: before it's painted, the primer is only good for 30 days. After that, you have to sand it, reprime and start over. This was a surprise because we originally planned to prime everything first, then paint at our leisure. We now realize we have to get the paint coats down relatively soon.

Also they recommend adequate ventilation, but when it comes to Kilz the cartridge-based respirator-mask is the best $30 I think I've ever spent; by the time we had the ceiling painted the room was just toxic, despite having the windows open. But the masks take care of all of the fumes.

Thursday, September 14, 2006

The War Against Odor

I realize that before I can post on the joys of primer some context is needed. The house Lori and I bought was built in 1985 - the foundation and infrastructure are in great condition, and the interior is very presentable. Well - they were very presentable. There is only one problem with the house: the past occupants were smokers. So most of the work we've started doing is part of an effort to remove the smoke smell from the house.

Thus we have started redecorating the living room completely despite having not even unpacked. Our goal is to remove the smoke smell by completely replacing all of the hard surfaces in the living room.

I do wish there were some kind of (cheap) scientific odor measurement device we could use...it's very hard to tell if we're making relative progress because the smell becomes less apparent when we've been in the house for a while, have the windows open, or use anything that has its own smell, like primer or bleach.

So as we work on our poor living room I will just keep telling myself...the war on odor will be a long one, with many sacrifices. We have to fight odor in the living room so we do not have to fight it in the bedroom. We go to bed with the smell we have, not the smell we want...

Monday, September 11, 2006

Of course I know what I'm doing...

Lori and I bought our first house a few weeks ago, and since then we've already turned the living room from something that looks like, well, a living room into a demolition zone.

I would describe myself as the worst kind of DIYer - one with no fear and more importantly, no brains, skills, or talent. As a computer geek by trade, all of this working with real physical materials is a bit foreign to me.

So it occurred to me to to start a blog...as a written record of the mistakes I make and things I discover. If nothing else, perhaps other novices like me can, with a little help from Google, save themselves some time and money by learning from my mistakes rather than their own.